Running Zephyr on LiteX/VexRiscv on Avalanche board with Microsemi PolarFire FPGA
This section contains a tutorial on how to build and run a shell sample for the Zephyr RTOS on the LiteX soft SoC with an RV32 VexRiscv CPU on the Future Electronics Avalanche Board with a PolarFire FPGA from Microsemi (a Microchip company) as well as in the Renode open source simulation framework.
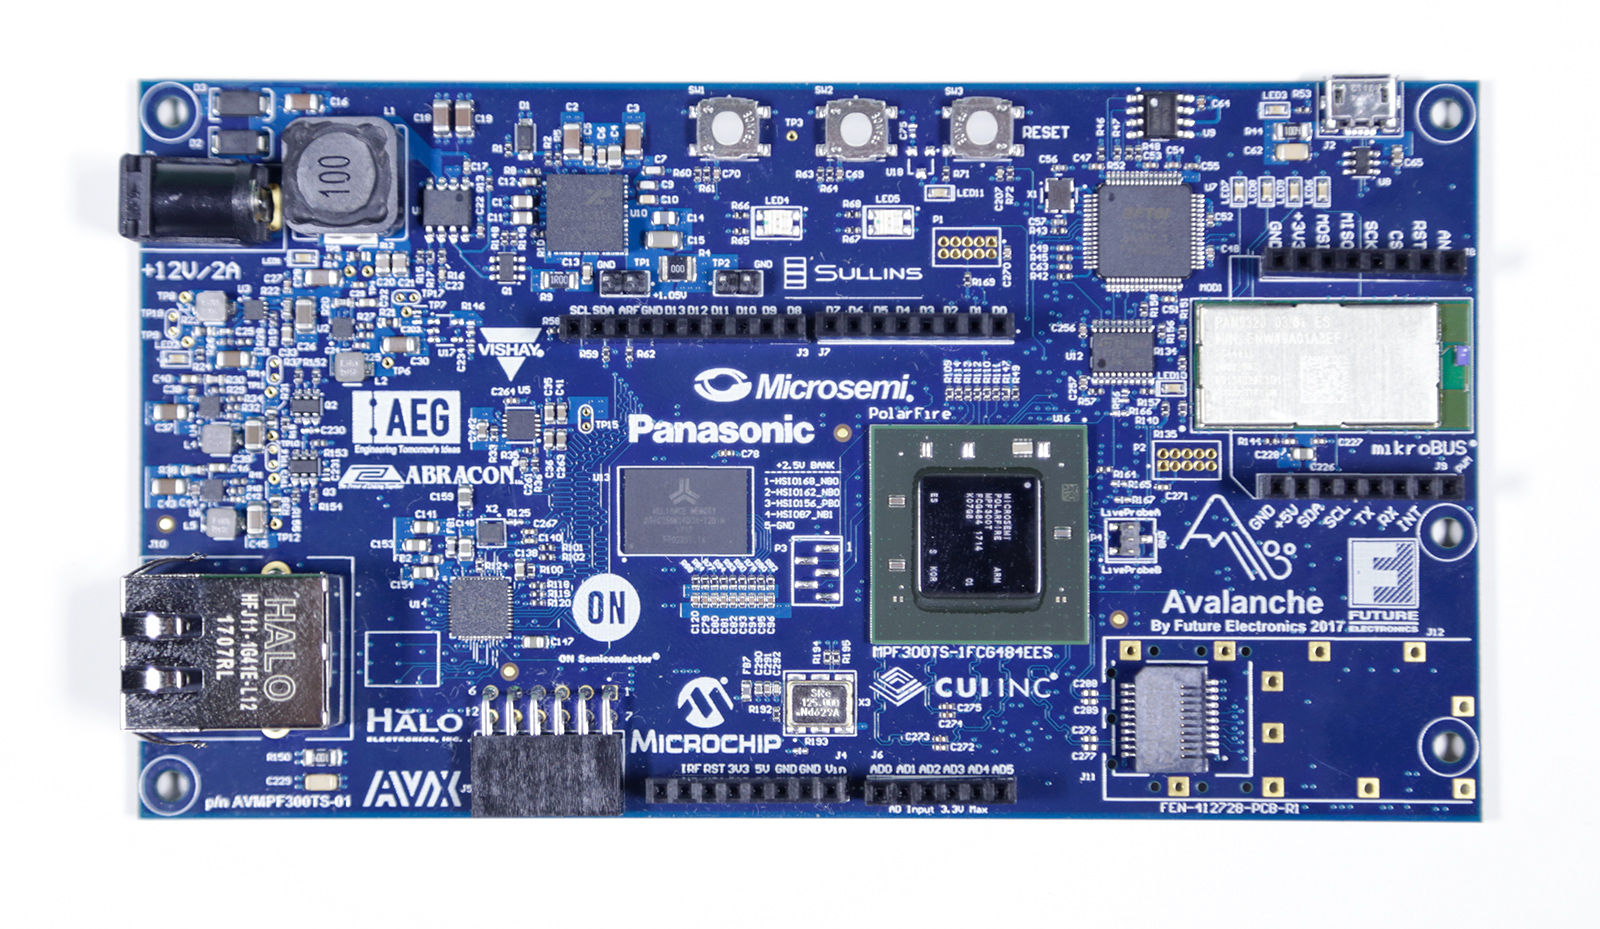
Fig. 2 The Future Electronics Avalanche board - top.
Building your system
Zephyr
First, prepare your environment and get the Zephyr RTOS sources.
If you want to skip building Zephyr manually, you can download a precompiled ELF file and binary file.
Building a shell sample
Generate the project build files:
cd samples/subsys/shell/shell_module
mkdir build
cd build
cmake -DBOARD=litex_vexriscv ..
Build it:
make -j $(nproc)
As a result, you should find zephyr.elf and zephyr.bin in the zephyr folder.
Running
Preparing the platform
Download a pregenerated bitstream of LiteX with VexRiscv and BIOS preloded to RAM:
wget https://github.com/riscv/risc-v-getting-started-guide/releases/download/tip/bitstream-litex-vexriscv-avalanche-zephyr.job
Load it onto the Avalanche board using the PolarFire FlashPro tool. You can refer to the “Creating a Job Project from a FlashPro Express Job” section of the tool’s official User Guide.
Note
Support for LiteX is available in Renode since version 1.7 - download pre-built packages from GitHub. Refer to the Renode README for more detailed installation instructions.
Start Renode and create a simulated instance of LiteX+VexRiscv:
mach create "litex-vexriscv"
machine LoadPlatformDescription @platforms/cpus/litex_vexriscv.repl
Loading Zephyr
In this example, Zephyr will be loaded onto the board over a serial connection.
Download and run the litex_term.py script (shipped with LiteX) on your host computer and connect it to the board via serial:
wget https://raw.githubusercontent.com/enjoy-digital/litex/master/litex/tools/litex_term.py
chmod u+x litex_term.py

./litex_term.py --serial-boot --kernel zephyr.bin /dev/ttyUSB1
To load the binary onto the simulated platform, just do:
sysbus LoadELF @zephyr.elf
Note
LiteX bios plays a role of a bootloader and is required on hardware to run Zephyr.
In Renode, however, you can load an ELF file to RAM and set the CPU PC to its entry point, so there is no need for a bootloader.
Running Zephyr
Reset the board.
You should see the following output:
[TERM] Starting....

        __   _ __      _  __
       / /  (_) /____ | |/_/
      / /__/ / __/ -_)>  <
     /____/_/\__/\__/_/|_|

 (c) Copyright 2012-2019 Enjoy-Digital
 (c) Copyright 2012-2015 M-Labs Ltd

 BIOS built on Apr  9 2019 14:40:45
 BIOS CRC passed (8c8ddc55)

--============ SoC info ================--
CPU:       VexRiscv @ 100MHz
ROM:       32KB
SRAM:      32KB
L2:        8KB
MAIN-RAM:  262144KB

--========= Peripherals init ===========--
Memtest OK

--========== Boot sequence =============--
Booting from serial...
Press Q or ESC to abort boot completely.
sL5DdSMmkekro
[TERM] Received firmware download request from the device.
[TERM] Uploading zephyr.bin (57912 bytes)...
[TERM] Upload complete (7.6KB/s).
[TERM] Booting the device.
[TERM] Done.
Executing booted program at 0x40000000


uart:~$
Open a UART window and start the Renode simulation:
showAnalyzer sysbus.uart
start
As a result, in the UART window you will see the shell prompt:
uart:~$
Now you can use the UART window to interact with the shell, e.g.:
uart:~$ help
Please press the <Tab> button to see all available commands.
You can also use the <Tab> button to prompt or auto-complete all commands or its subcommands.
You can try to call commands with <-h> or <--help> parameter for more information.
Shell supports following meta-keys:
Ctrl+a, Ctrl+b, Ctrl+c, Ctrl+d, Ctrl+e, Ctrl+f, Ctrl+k, Ctrl+l, Ctrl+u, Ctrl+w
Alt+b, Alt+f.
Please refer to shell documentation for more details.

uart:~$ kernel version
Zephyr version 1.14.0