Running 32-bit Linux on LiteX/VexRiscv on Avalanche board with Microsemi PolarFire FPGA
This section contains a tutorial on how to build and run 32-bit Linux on the LiteX soft SoC with an RV32 VexRiscv CPU on the Future Electronics Avalanche Board with a PolarFire FPGA from Microsemi (a Microchip company) as well as in the Renode open source simulation framework.
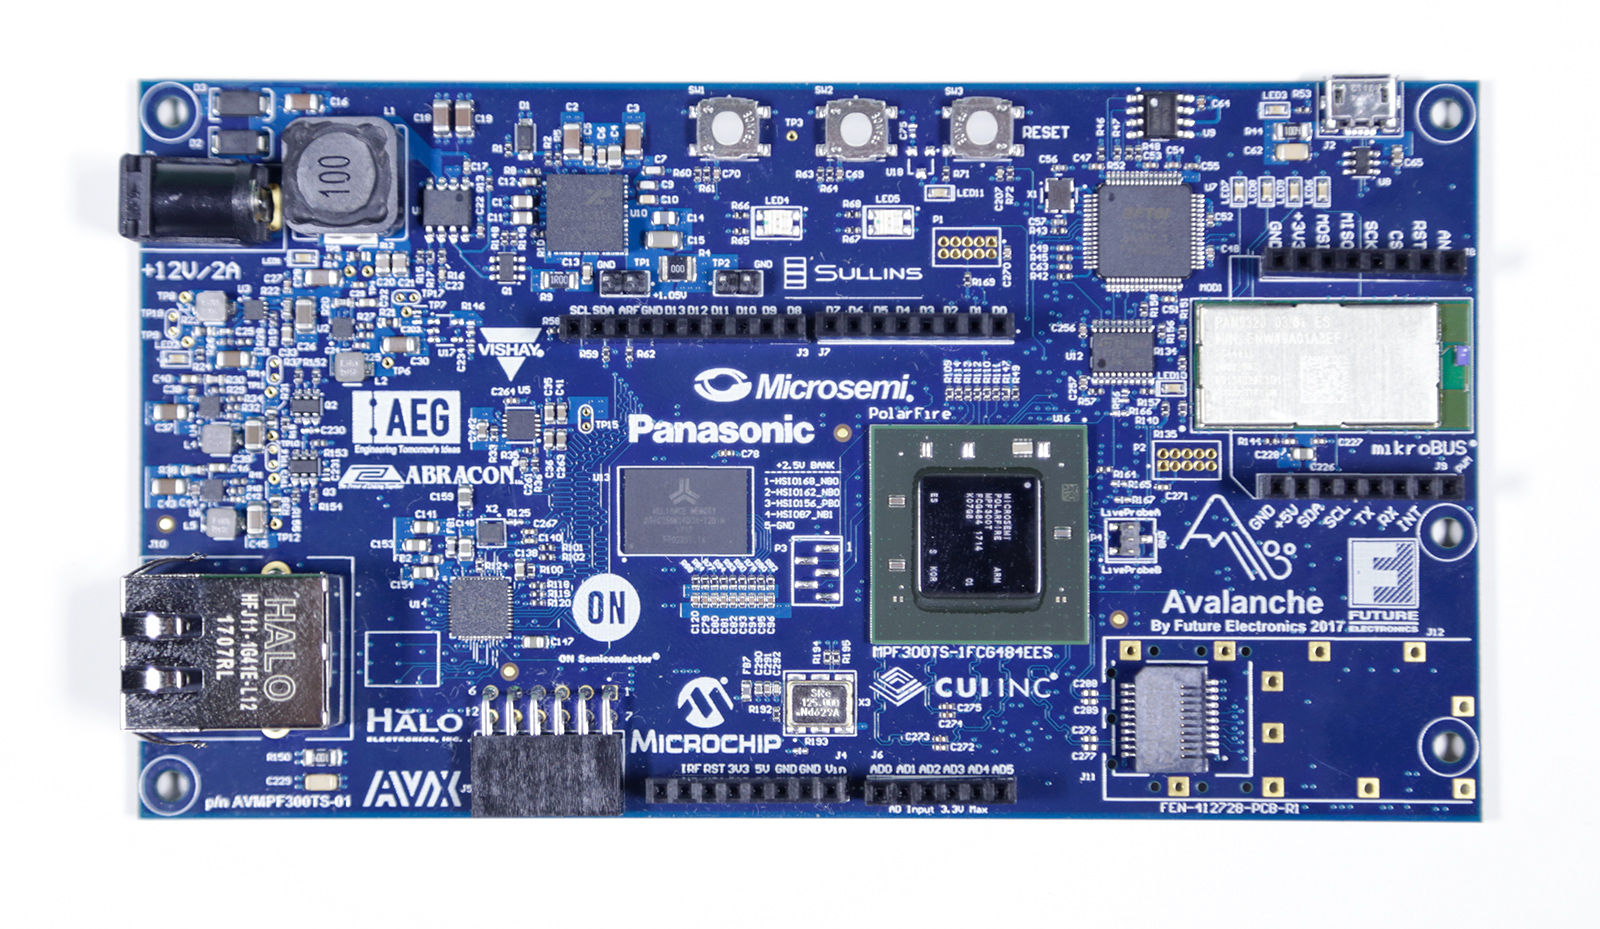
Fig. 4 The Future Electronics Avalanche board - top.
Note
This chapter targets Debian-based Linux flavors, and has been tested on Ubuntu 18.04.
Prerequisites
Running Linux on the Litex/VexRiscv platform requires you to install some prerequisites.
sudo apt install autoconf automake autotools-dev bc bison build-essential curl cpio flex \
                 gawk gdisk git gperf libgmp-dev libmpc-dev libmpfr-dev libncurses-dev \
                 libssl-dev libtool patchutils python rsync screen texinfo unzip zlib1g-dev
Getting the sources
Clone the official Buildroot repository and apply a patch adding VexRiscv support
git clone https://github.com/buildroot/buildroot
cd buildroot
git checkout 653bf9383721a2e2d3313ae08a3019b864326
git am ../../files/0001-Add-Litex-VexRiscv-support.patch
Building
Simply run:
mkdir ~/vexriscv-bins
make litex_vexriscv_defconfig
make -j`nproc`
cp output/images/Image output/images/rootfs.cpio ~/vexriscv-bins
Note
The build process may take some time, do not be discouraged by the wait. The resulting binaries (rootfs.cpio and Image) will be written in the output/images folder.
Running
Preparing the platform
Download a pregenerated bitstream of Litex with VexRiscv and BIOS preloaded to RAM:
wget https://github.com/riscv/risc-v-getting-started-guide/releases/download/tip/bitstream-litex-vexriscv-avalanche-linux.job
Load it onto the Avalanche board using the PolarFire FlashPro tool. You can refer to the “Creating a Job Project from a FlashPro Express Job” section of the tool’s official User Guide.
Note
Support for Linux-enabled LiteX with VexRiscv is available in Renode since version 1.7.1 - download pre-built packages from GitHub. Refer to the Renode README for more detailed installation instructions.
Start Renode and create an simulated instance of Linux-enabled LiteX+VexRiscv:
mach create "litex-vexriscv-linux"
machine LoadPlatformDescription @platforms/cpus/litex_vexriscv_linux.repl
Loading Linux images
First, download pre-built binaries of two files needed for running Linux on the platform, the Machine Mode emulator and the device tree:
cd ~/vexriscv-bins
wget https://github.com/riscv/risc-v-getting-started-guide/releases/download/tip/devicetree-litex-vexriscv-avalanche-linux.dtb
wget https://github.com/riscv/risc-v-getting-started-guide/releases/download/tip/emulator-litex-vexriscv-avalanche-linux.bin
The Avalanche board can be flashed using the UART interface.
Flashing can be done using the litex_term tool
# get the litex_term tool
wget https://raw.githubusercontent.com/enjoy-digital/litex/190ff89aaa120cc983ccaeb1077ba1d23f00e37c/litex/tools/litex_term.py
wget https://raw.githubusercontent.com/antmicro/risc-v-getting-started-guide/master/source/files/images-litex-vexriscv-avalanche-linux.json
chmod +x litex_term.py
# assuming the board serial has been registered as ttyUSB0
./litex_term.py --images images-litex.json /dev/ttyUSB0
To load all the binaries onto the simulated platform, execute the following commands:
sysbus LoadBinary @Image        0xc0000000
sysbus LoadBinary @rootfs.cpio  0xc0800000
sysbus LoadFdt    @devicetree-litex-vexriscv-avalanche-linux.dtb 0xc1000000
sysbus LoadBinary @emulator-litex-vexriscv-avalanche-linux.bin   0x20000000

# start executing directly from the Machine Mode emulator
cpu PC 0x20000000
Note
The LiteX bios plays a role of a bootloader and is required on hardware to run Linux.
In Renode, however, you can load binaries to RAM directly and set the CPU PC to its entry point, so there is no need for a bootloader.
Running Linux
Reset the board. You should see the following output:
[LXTERM] Starting....

   __   _ __      _  __
  / /  (_) /____ | |/_/
 / /__/ / __/ -_)>  <
/____/_/\__/\__/_/|_|

(c) Copyright 2012-2019 Enjoy-Digital
(c) Copyright 2012-2015 M-Labs Ltd

BIOS built on May 10 2019 22:08:04
BIOS CRC passed (183ff024)

--============ SoC info ================--
CPU:       VexRiscv @ 100MHz
ROM:       32KB
SRAM:      32KB
L2:        8KB
MAIN-RAM:  262144KB

--========= Peripherals init ===========--
Memtest OK

--========== Boot sequence =============--
Booting from serial...
Press Q or ESC to abort boot completely.
sL5DdSMmkekro
[LXTERM] Received firmware download request from the device.
[LXTERM] Uploading Image to 0xc0000000 (2726132 bytes)...
[LXTERM] Upload complete (7.7KB/s).
[LXTERM] Uploading rootfs.cpio to 0xc0800000 (4055552 bytes)...
[LXTERM] Upload complete (7.7KB/s).
[LXTERM] Uploading rv32.dtb to 0xc1000000 (1866 bytes)...
[LXTERM] Upload complete (7.6KB/s).
[LXTERM] Uploading emulator.bin to 0x20000000 (9028 bytes)...
[LXTERM] Upload complete (7.7KB/s).
[LXTERM] Booting the device.
[LXTERM] Done.
Executing booted program at 0x20000000
Open a UART window and start the Renode simulation:
showAnalyzer sysbus.uart
start
Now you should see the following log of booting Linux:
VexRiscv Machine Mode software built May 13 2019 14:14:12
--========== Booting Linux =============--
[    0.000000] No DTB passed to the kernel
[    0.000000] Linux version 5.0.14 (user@host) (gcc version 8.3.0 (Buildroot 2019.05-rc1-00022-g653bf93)) #1 Mon May 13 10:22:15 CEST 2019
[    0.000000] Initial ramdisk at: 0x(ptrval) (8388608 bytes)
[    0.000000] Zone ranges:
[    0.000000]   Normal   [mem 0x00000000c0000000-0x00000000c7ffffff]
[    0.000000] Movable zone start for each node
[    0.000000] Early memory node ranges
[    0.000000]   node   0: [mem 0x00000000c0000000-0x00000000c7ffffff]
[    0.000000] Initmem setup node 0 [mem 0x00000000c0000000-0x00000000c7ffffff]
[    0.000000] elf_hwcap is 0x1101
[    0.000000] Built 1 zonelists, mobility grouping on.  Total pages: 32512
[    0.000000] Kernel command line: mem=128M@0x40000000 rootwait console=hvc0 root=/dev/ram0 init=/sbin/init swiotlb=32
[    0.000000] Dentry cache hash table entries: 16384 (order: 4, 65536 bytes)
[    0.000000] Inode-cache hash table entries: 8192 (order: 3, 32768 bytes)
[    0.000000] Sorting __ex_table...
[    0.000000] Memory: 119052K/131072K available (1958K kernel code, 90K rwdata, 317K rodata, 104K init, 184K bss, 12020K reserved, 0K cma-reserved)
[    0.000000] SLUB: HWalign=64, Order=0-3, MinObjects=0, CPUs=1, Nodes=1
[    0.000000] NR_IRQS: 0, nr_irqs: 0, preallocated irqs: 0
[    0.000000] clocksource: riscv_clocksource: mask: 0xffffffffffffffff max_cycles: 0x114c1bade8, max_idle_ns: 440795203839 ns
[    0.000751] sched_clock: 64 bits at 75MHz, resolution 13ns, wraps every 2199023255546ns
[    0.006686] Console: colour dummy device 80x25
[    0.205255] printk: console [hvc0] enabled
[    0.213843] Calibrating delay loop (skipped), value calculated using timer frequency.. 150.00 BogoMIPS (lpj=300000)
[    0.230054] pid_max: default: 32768 minimum: 301
[    0.289177] Mount-cache hash table entries: 1024 (order: 0, 4096 bytes)
[    0.300773] Mountpoint-cache hash table entries: 1024 (order: 0, 4096 bytes)
[    0.562839] devtmpfs: initialized
[    0.777903] clocksource: jiffies: mask: 0xffffffff max_cycles: 0xffffffff, max_idle_ns: 7645041785100000 ns
[    0.793367] futex hash table entries: 256 (order: -1, 3072 bytes)
[    1.514347] clocksource: Switched to clocksource riscv_clocksource
[    2.964577] Unpacking initramfs...
[   11.940415] Initramfs unpacking failed: junk in compressed archive
[   12.049860] workingset: timestamp_bits=30 max_order=15 bucket_order=0
[   13.575690] Block layer SCSI generic (bsg) driver version 0.4 loaded (major 254)
[   13.588037] io scheduler mq-deadline registered
[   13.593169] io scheduler kyber registered
[   22.876345] random: get_random_bytes called from init_oops_id+0x4c/0x60 with crng_init=0
[   23.017785] Freeing unused kernel memory: 104K
[   23.025710] This architecture does not have kernel memory protection.
[   23.036765] Run /init as init process
mount: mounting tmpfs on /dev/shm failed: Invalid argument
mount: mounting tmpfs on /tmp failed: Invalid argument
mount: mounting tmpfs on /run failed: Invalid argument
Starting syslogd: OK
Starting klogd: OK
Initializing random number generator... [   36.389928] random: dd: uninitialized urandom read (512 bytes read)
done.
Starting network: ip: socket: Function not implemented
ip: socket: Function not implemented
FAIL

Welcome to Buildroot
buildroot login: root

   __   _                                  __   _ __      _  __   _   __         ___  _
     / /  (_)__  __ ____ _________  ___  ____/ /  (_) /____ | |/_/__| | / /____ __ / _ \(_)__ _____  __
    / /__/ / _ \/ // /\ \ /___/ _ \/ _ \/___/ /__/ / __/ -_)>  </___/ |/ / -_) \ // , _/ (_-</ __/ |/ /
   /____/_/_//_/\_,_//_\_\    \___/_//_/   /____/_/\__/\__/_/|_|    |___/\__/_\_\/_/|_/_/___/\__/|___/

                          32-bits VexRiscv CPU with MMU integrated in a LiteX SoC

login[48]: root login on 'hvc0'
root@buildroot:~#
The default Linux credentials are:
- username
- root
- password
- (no pass)